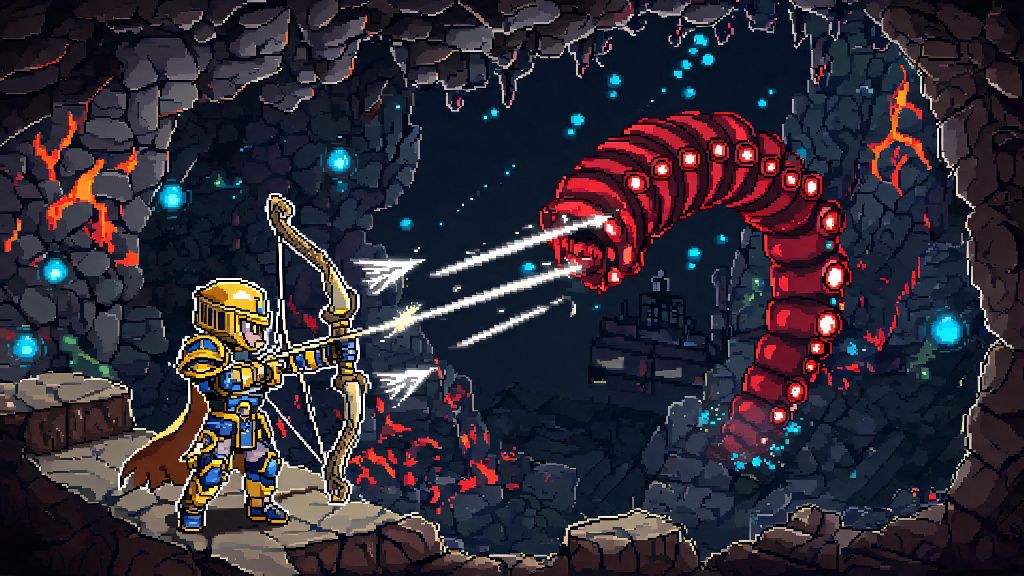
I still remember my first run-in with the Destroyer, 10 minutes after I beat the Wall of Flesh for the first time. I was out collecting cobalt ore when a slithering red worm burst out of the ground, and I was dead before I could even switch from my pickaxe to my sword. If you’re here because you’re stuck fighting this infuriating hardmode menace, you’re in the right place. This guide breaks down exactly how to kill Destroyer in Terraria, no fancy modded gear or endgame loot required, just simple, tested strategies you can pull off with basic pre-mechanical boss items.
Pre-Fight Gear & Prep You Need to Beat the Destroyer
Your prep work will make or break this fight, so don’t skip this step even if you’re eager to jump into combat. The meta pick for most classes is the Daedalus Stormbow, which drops from Hallowed Mimics, paired with Holy Arrows crafted from pixie dust and wooden arrows. This combo rains down piercing star damage that hits multiple segments of the Destroyer at once, cutting fight time in half compared to single-target weapons. If you haven’t found a Hallowed Mimic yet, a Minishark with Meteor Shot or a Nimbus Rod works as a solid alternative.
For armor, any early hardmode set (Cobalt, Palladium, Mythril, Orichalcum) will work, so you don’t need to grind for the highest tier before attempting the fight. Accessories should prioritize mobility and survivability over raw damage first. There are a few non-negotiable items you should have ready before you spawn the boss:
Buffs are low-effort, high-reward for this fight. Ironskin, Regeneration, Swiftness, and Heartreach are all you need to get a solid edge. You don’t need to waste rare ingredients on Wrath or Rage potions unless you want to finish the fight extra fast.
Core Fight Mechanics to Exploit When Fighting the Destroyer
The Destroyer is one of the simplest mechanical bosses once you understand how it works, and it has way more exploitable weaknesses than the Twins or Skeletron Prime. It’s made up of 82 connected segments, all sharing the same health pool. That means every piercing hit that lands on 3 or 4 segments at once is doing 3 to 4 times the damage of a single-target hit, which is why piercing weapons are non-negotiable here.
The flying probes it spawns periodically are both a threat and a huge benefit. They shoot low-damage lasers that can add up if you ignore them, but killed probes drop hearts and mana stars that let you sustain yourself mid-fight without chugging potions nonstop. You don’t need to go out of your way to kill them, but take out any that get within 10 blocks of you to get free healing.
One critical thing to note is that the Destroyer’s head deals 3 times more damage than its body or tail segments. Don’t let it ram you directly, even if you have high armor. If it’s curling up to charge straight at you, jump up or down a layer of your arena to dodge, don’t try to outrun it horizontally—it’s faster than you even with top-tier mobility accessories.
Phase-by-Step Strategy to Kill Destroyer in Terraria
Once you’ve set up your long, multi-layer skybridge arena and popped your buffs, spawn the Destroyer with a Mechanical Worm, or wait for it to spawn naturally at night. For the first 50% of its health bar, it moves relatively slowly and spawns probes rarely. Use this window to get used to its movement pattern. If you’re using the Daedalus Stormbow, aim straight up at the sky above the Destroyer, and the Holy Arrows will rain down and hit every segment as it passes under them. You don’t need to aim directly at the boss to deal maximum damage with this setup.
When the boss drops below 50% health, it enters its second phase. It speeds up dramatically, spawns twice as many probes, and will charge at you more frequently. This is where most players panic and make mistakes, but you just need to stick to your rhythm. Keep moving between arena layers to dodge head charges, and if you drop below half health, prioritize killing 2 or 3 probes to get free heart drops instead of chugging all your potions at once.
Don’t follow the Destroyer underground if it digs down away from your arena. It will always resurface within 2 to 3 seconds, and going underground removes your ability to dodge its charges easily. If you’re playing multiplayer, assign one player to clear nearby probes and another to focus all damage on the main boss body to cut fight time even more.
The fight only takes 2 to 4 minutes with a good piercing weapon, so you won’t need to keep this up for long. Once the last segment dies, you’ll get Hallowed Bars, Souls of Might, and other loot you can use to craft better gear for the remaining mechanical bosses.
Common Mistakes That Make the Destroyer Fight Way Harder
I’ve seen so many players make easily avoidable mistakes that turn this simple fight into a 2-hour grind. The first and most common mistake is using single-target weapons like swords or non-piercing guns. You’ll spend 10+ minutes chipping away at individual segments, and you’ll almost always run out of potions before the boss dies, even if you’re good at dodging.
Another big mistake is fighting the Destroyer on the ground instead of a raised skybridge arena. If you’re on the ground, it can dig up directly under you for surprise head charges, and you won’t have room to move vertically to dodge its attacks. Even a simple 2-layer arena 50 blocks above the ground will make the fight 10 times easier.
Knockback immunity is non-negotiable, so equip an Obsidian Shield or Cobalt Shield before starting the fight. If a probe or the boss’s body hits you and knocks you into a group of laser-firing probes, you’ll get melted before you can recover. It’s one of the cheapest, easiest accessories to get for early hardmode, so don’t skip it.
Last, don’t spawn the Destroyer right before dawn. It despawns immediately when the sun comes up, even if it only has 1% health left, and you’ll lose all the progress you made on the fight. Spawn it within the first hour of night to give yourself plenty of time to finish it off, even if you die once and have to run back to the arena.
The Destroyer is the easiest of the three mechanical bosses, so beating it is a huge milestone for any hardmode playthrough. Don’t get discouraged if you die once or twice while getting used to its movement pattern—it took me three tries to get the rhythm right on my first playthrough. Now that you know exactly how to kill Destroyer in Terraria, you can knock this boss out on your next play session without breaking a sweat, and use its drops to gear up for the rest of hardmode’s challenges.