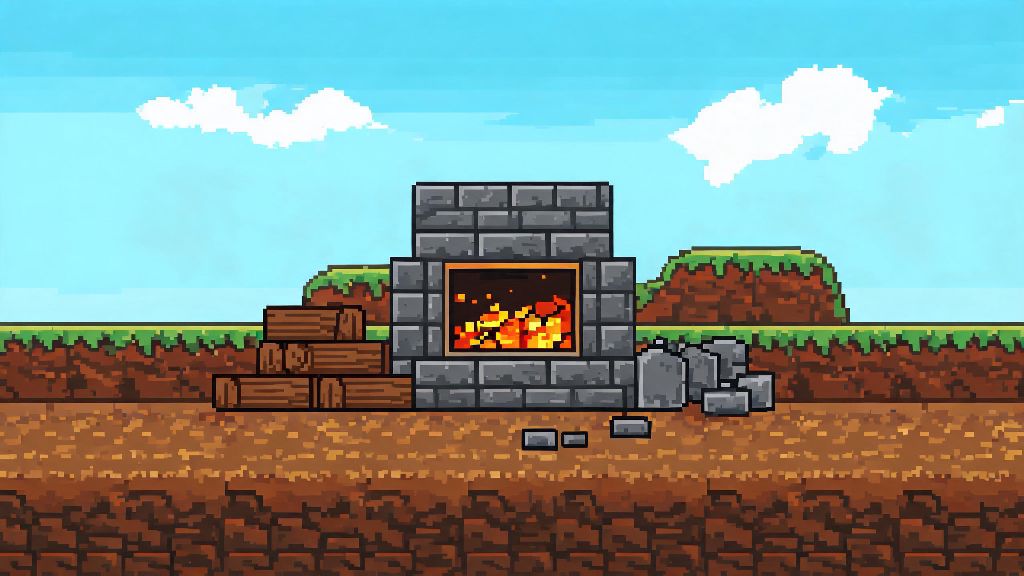
If you’ve just spawned into your first Terraria world and are staring at a pile of stone and ore you can’t do anything with, you’re not alone. The furnace is one of the first core utility items you’ll need to progress past the wooden tools phase, and skipping it will leave you stuck fighting slimes with a flimsy copper axe for hours. This guide breaks down exactly how to craft a furnace in Terraria, plus extra tips to make the most of your smelting setup as you move through pre-hardmode and beyond.
What You Need to Craft a Furnace in Terraria
The great news is that the basic furnace requires zero rare materials, and you can gather all required components in your first 10 minutes of play, no matter what biome you spawn in. You only need three items to get started, plus access to a standard work bench.
First, you’ll need 20 stone blocks. These are the plain grey blocks you’ll find just a few blocks below the surface dirt layer, and your starting copper pickaxe can mine them instantly, no upgrades needed. You don’t have to dig deep into caves to get enough stone, either – even a small 5x5 hole near your spawn will give you more than enough. Second, you need 4 pieces of wood, any type works, from regular oak to corruption or crimson wood, so just chop down the closest tree to your spawn. Third, you need 3 torches, which are crafted with 1 wood and 1 gel each, and gel drops from every type of slime you’ll run into near spawn.
You don’t need any special crafting stations or rare materials to make a basic furnace – it’s intentionally designed to be accessible for brand new players. Once you gather all required materials, learning how to craft a furnace in Terraria takes less than 10 seconds, no extra steps needed. The only pre-requisite is standing next to a work bench, which you can make with 10 wood as soon as you spawn.
Step-by-Step Furnace Crafting Walkthrough
Once you have all your materials together, the actual crafting process is super straightforward, and works the same across all game modes, from journey mode to master mode. This process works for all versions of the game too, whether you’re playing on PC, console, or mobile.
First, make sure you have all 20 stone blocks, 4 wood, and 3 torches in your personal inventory, not stored in a chest or dropped on the ground. Second, stand within 2 blocks of your work bench – the game won’t show you the furnace crafting recipe if you’re too far away. Third, open your crafting menu, scroll through the available utility items, and select the furnace to craft it. Fourth, move the furnace from your crafting output slot to your inventory, then place it on any solid block in your base or mining camp.
If the furnace doesn’t appear in your crafting menu, double check you have all materials in your inventory and are standing within 2 blocks of a work bench. I’ve forgotten to stand close to the work bench more times than I can count, especially when I’m rushing to smelt iron for a better pickaxe before the first night falls. This process works for all game modes, so you don’t have to follow different rules for journey, classic, expert or master mode when you want to figure out how to craft a furnace in Terraria.
Useful Furnace Upgrades and Smelting Tips
The basic furnace works for all early-game ores, including copper, iron, silver, and gold, but there are a few upgrades and tricks you can use to make your smelting process way more efficient as you progress through the game. You don’t have to stick to a single basic furnace for your entire playthrough, and small adjustments to your setup will save you hours of time down the line.
Some of my go-to tips for getting the most out of your furnace include:
Once you progress a bit further, you can upgrade your basic furnace to a hellforge, which is found in ruined houses in the underworld. Hellforges let you smelt hellstone into hellstone bars, which are used to make the molten armor set, one of the strongest pre-hardmode armor sets in the game. After you beat the Wall of Flesh and enter hardmode, you can upgrade again to an adamantite or titanium forge, which lets you smelt all hardmode ores including chlorophyte from the jungle.
You can pick up and move your furnace any time by hitting it with a pickaxe, so you don’t have to leave it at your first base if you decide to move later. A lot of new players think once they place a furnace it’s stuck forever, but you can easily move it to a new base or even take it with you on mining trips if you have extra inventory space. You can also use your furnace to smelt sand into glass, which is needed for glass bottles, potions, and decorative windows, so it’s useful even when you don’t have any ore to smelt.
Common Furnace Mistakes to Avoid as a New Player
Even though the furnace is a simple item, a lot of new players make easily avoidable mistakes that slow down their progress, especially in their first few playthroughs. These mistakes are super common, but you can skip a lot of frustration by watching out for them early on.
One of the most frequent mistakes I see new players make is using their only 3 torches to craft a furnace right before they head into a cave. Always keep extra torches in your inventory, because getting stuck in a dark cave with no light will leave you vulnerable to monster spawns and fall damage. Another mistake is leaving your furnace outside your base unlit at night – zombies and demon eyes will often spawn right next to it, making it hard to access when you need to smelt ore quickly.
Never use demonite or crimtane ore in a basic furnace – you’ll need a hellforge to smelt those into bars, so save those ores until you’ve explored the underworld a bit and picked up a hellforge. A lot of new players spend hours mining demonite just to find out they can’t smelt it with their basic furnace, which is a huge waste of time. If you’re playing on a multiplayer server, mark your furnace with a sign to avoid other players accidentally taking it for their own base. It’s a small step, but it will save you from having to re-craft materials when you log back in and find your furnace gone.
At the end of the day, the furnace is one of the most foundational items in any Terraria playthrough, and getting it set up early will make your first few hours way less frustrating. Now that you know how to craft a furnace in Terraria, you can start smelting better ores, crafting stronger gear, and taking on the first bosses without wasting hours stuck with basic tools. Don’t be afraid to experiment with placement, and remember to upgrade to better forges once you hit hardmode to unlock even more powerful crafting recipes.